To add/amend the Warranty on a Sales Order to the Navigator Main menu and select Vehicles. In the drop down menu that appears select Vehicle Administrators Toolkit.
The following window will appear:
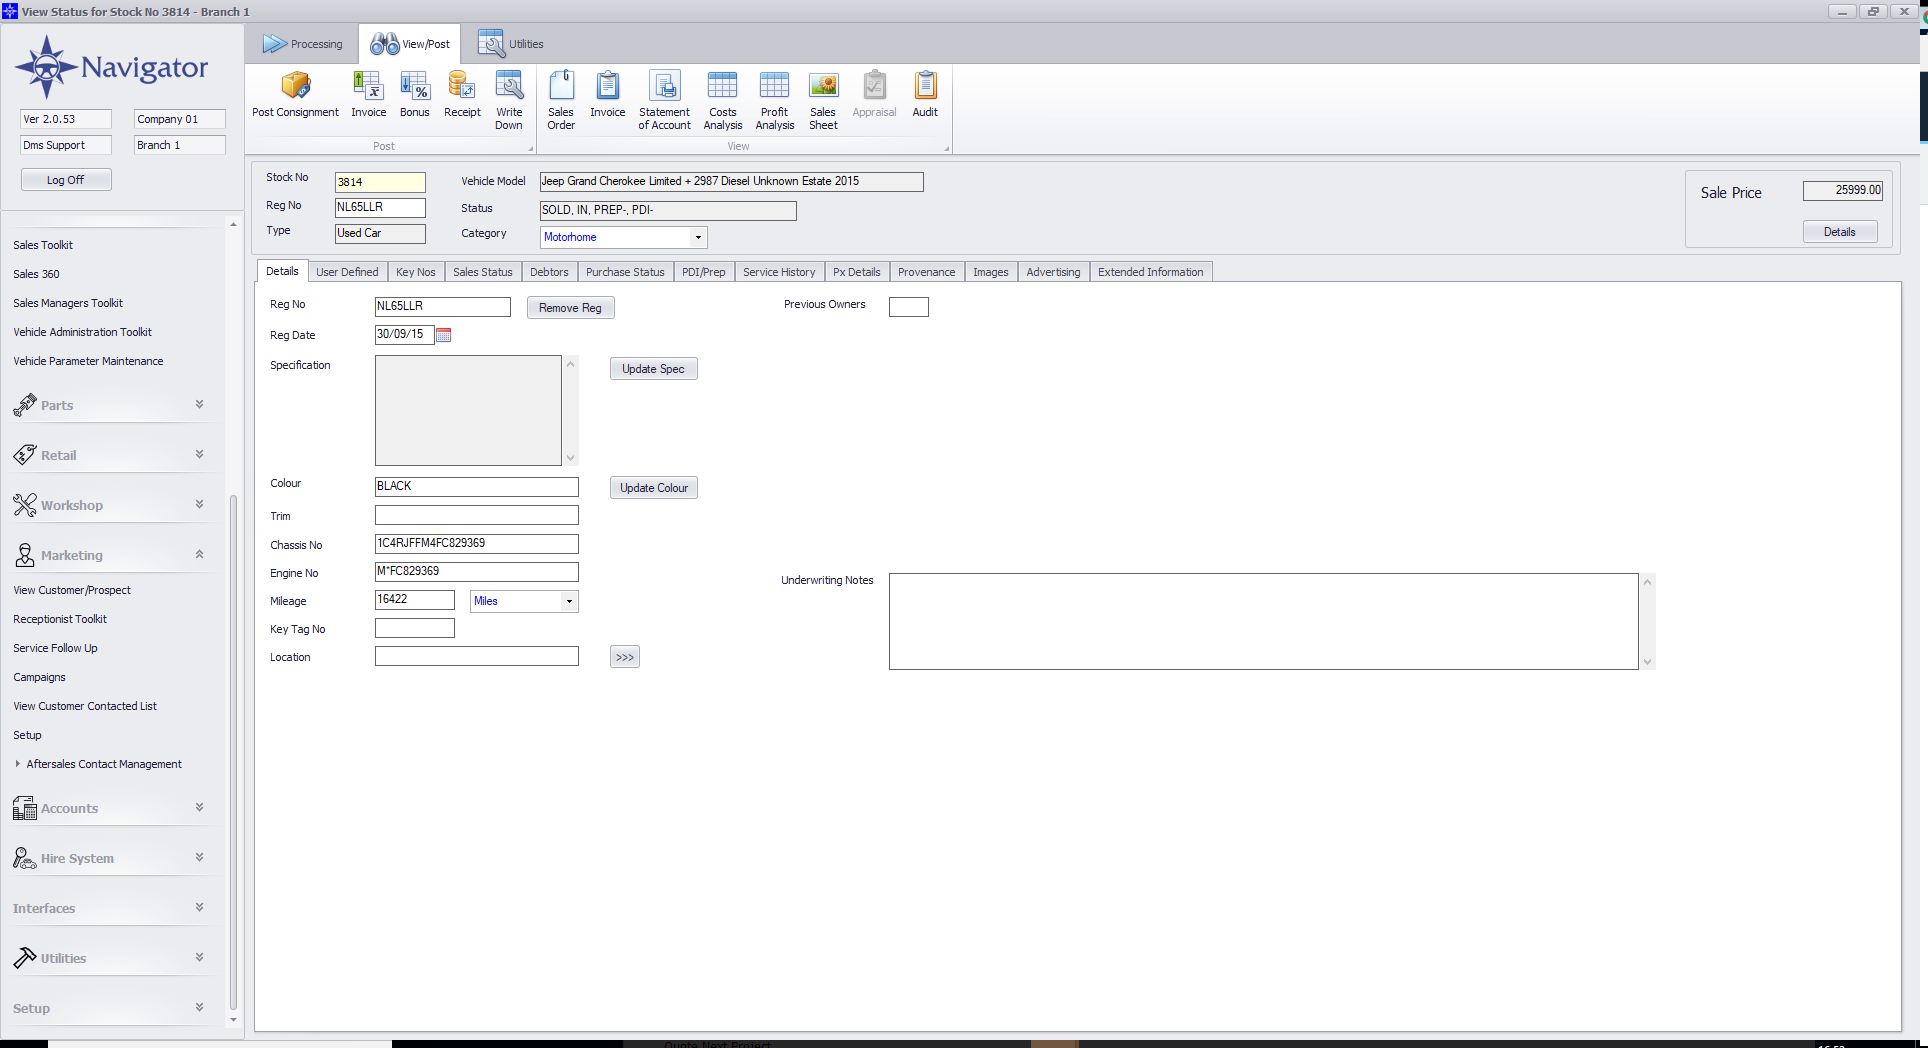
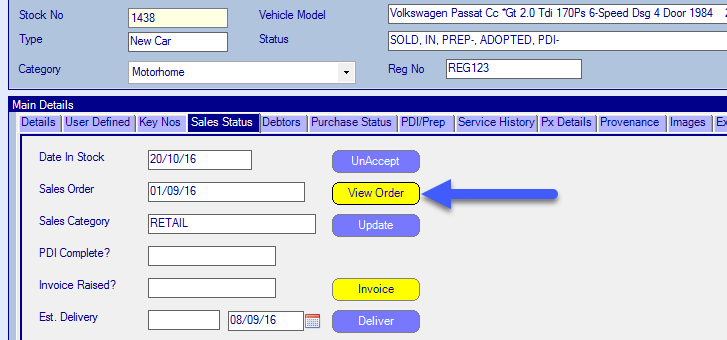
Search for the required Stock Record. When the Stock Record appears on screen select the Sales Status tab and click the button for View Order.
The Sales Order will then appear on screen. Select the Warranty tab and the window that appears will look similar to the below:
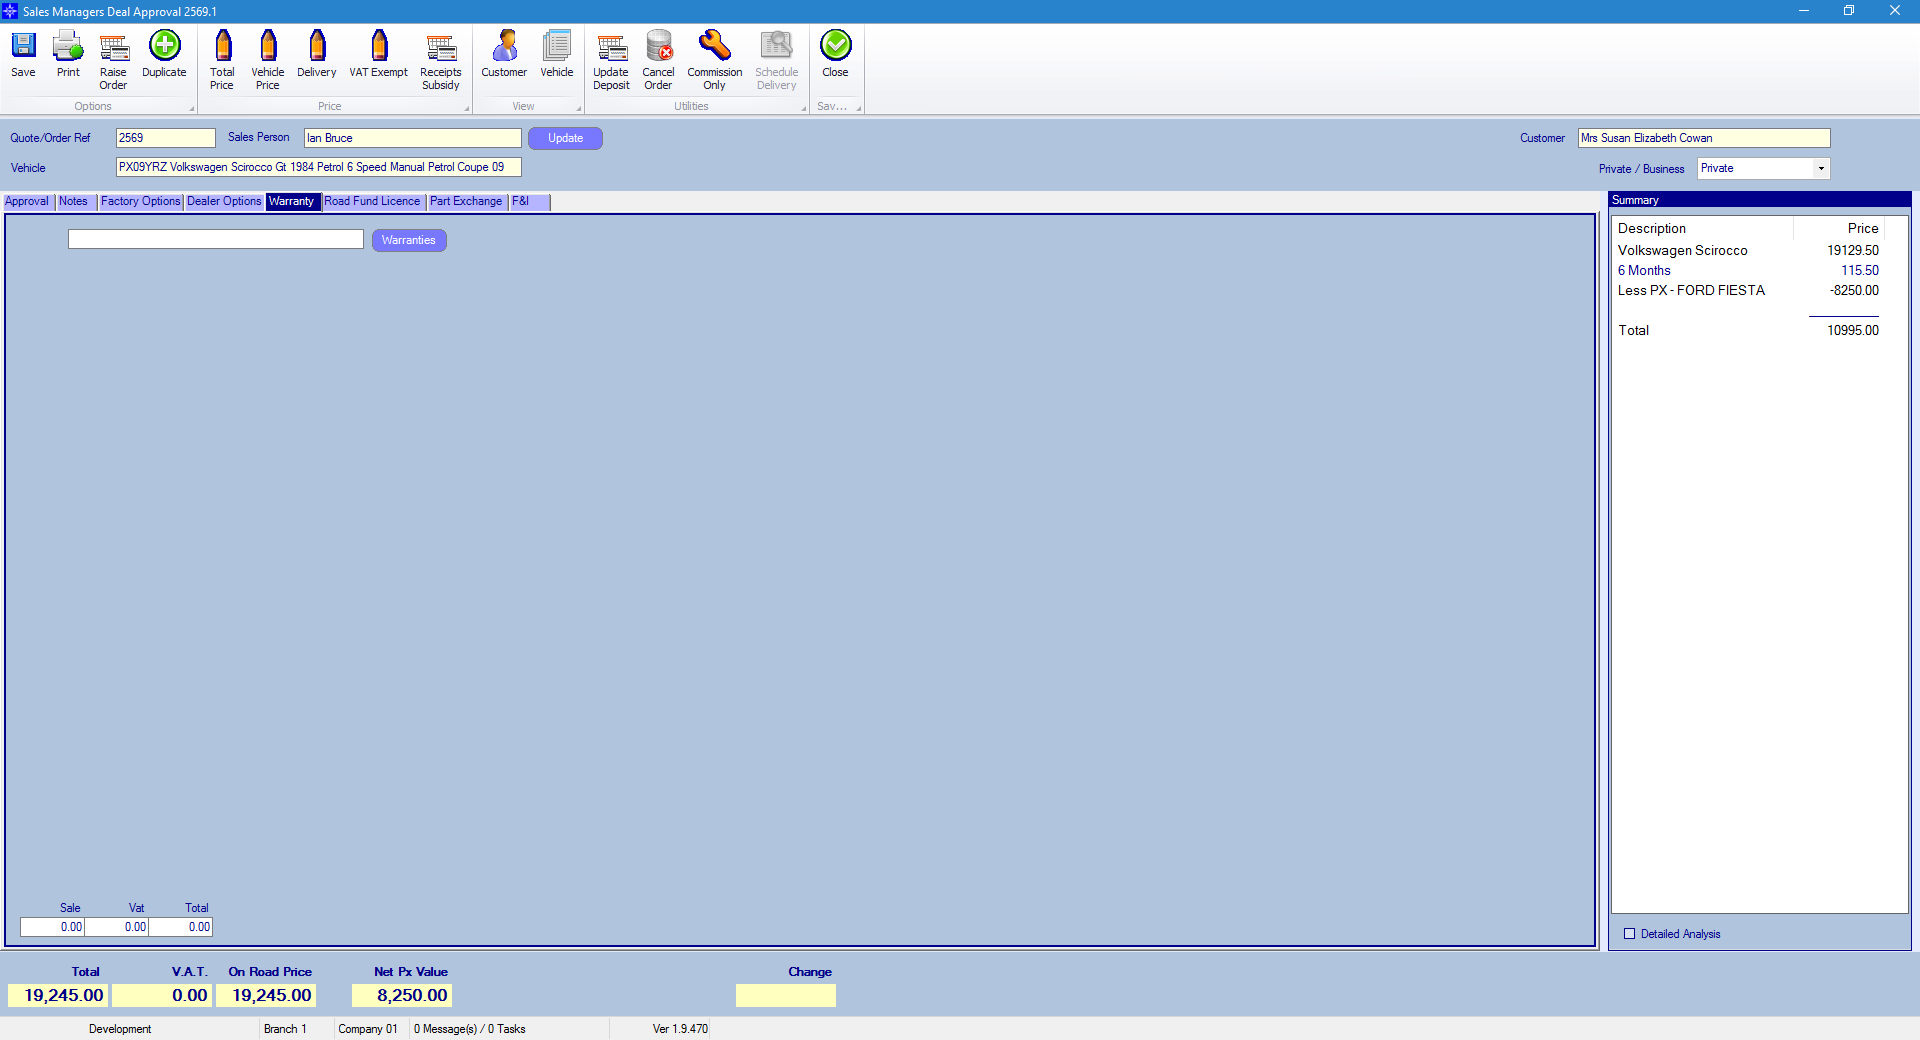
To add a Warranty select the Warranties button. The following window will then appear:
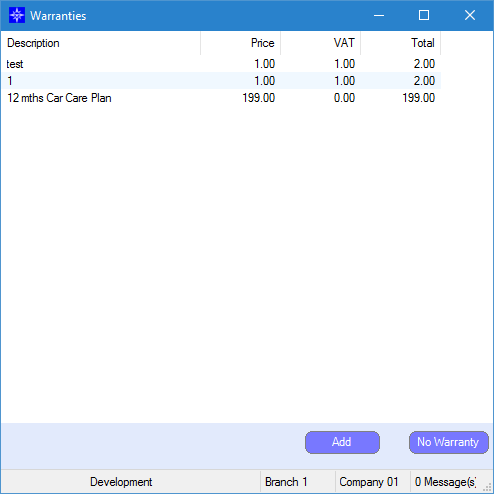
Double click the required Warranty. The system will automatically close the above window and add the warranty to the Sales Order.
To discount a Warranty right click the required line. The button shown below will then appear:
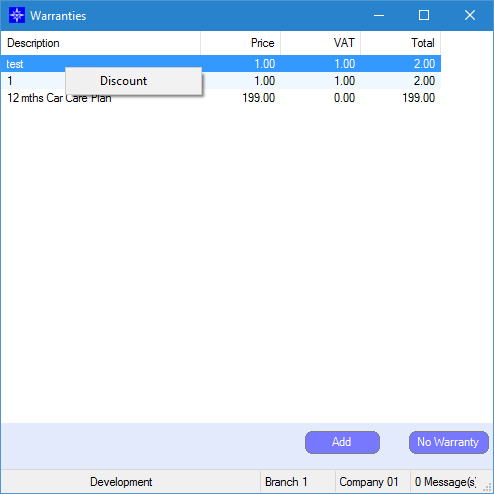
Select the discount button, the following window will then appear:
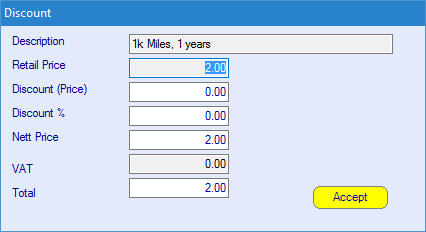
Apply the required discount and select Accept.
If the Warranty you require does not appear on the list then you can create a one-off by selecting the Add button. The following window will then appear:
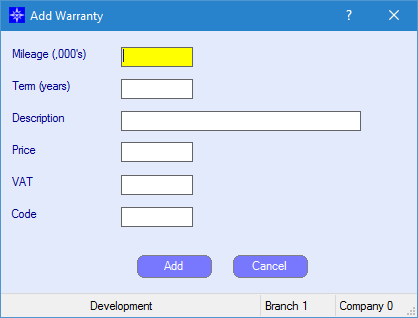
Enter the required details and select Add. This will then add the Warranty to the Sales Order.
If you no longer want Warranty on the Sales Order select the button for No Warranty on the Warranties window. This will then be removed from the Sales Order.