To raise an invoice against a Stock Record go to the Navigator Main menu and select Vehicles. In the drop down menu that appears select Vehicle Administrators Toolkit.
The following window will appear:
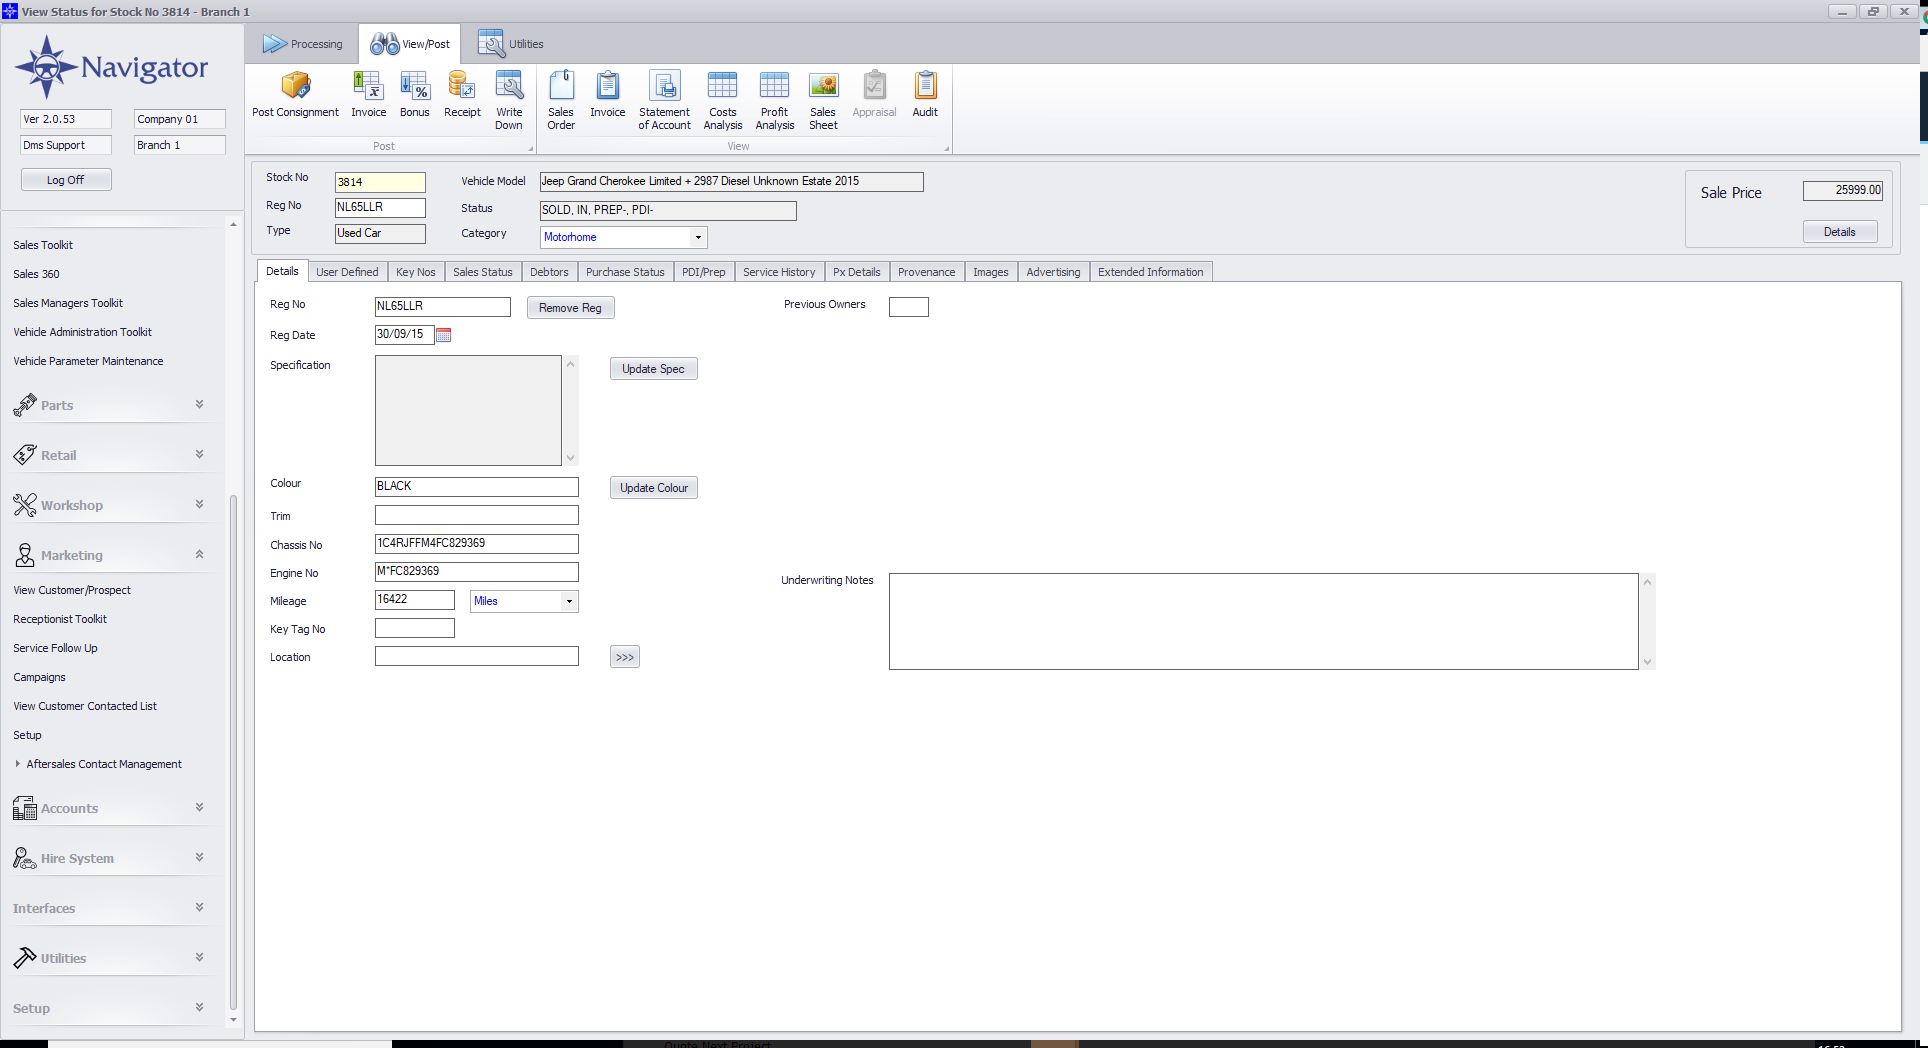
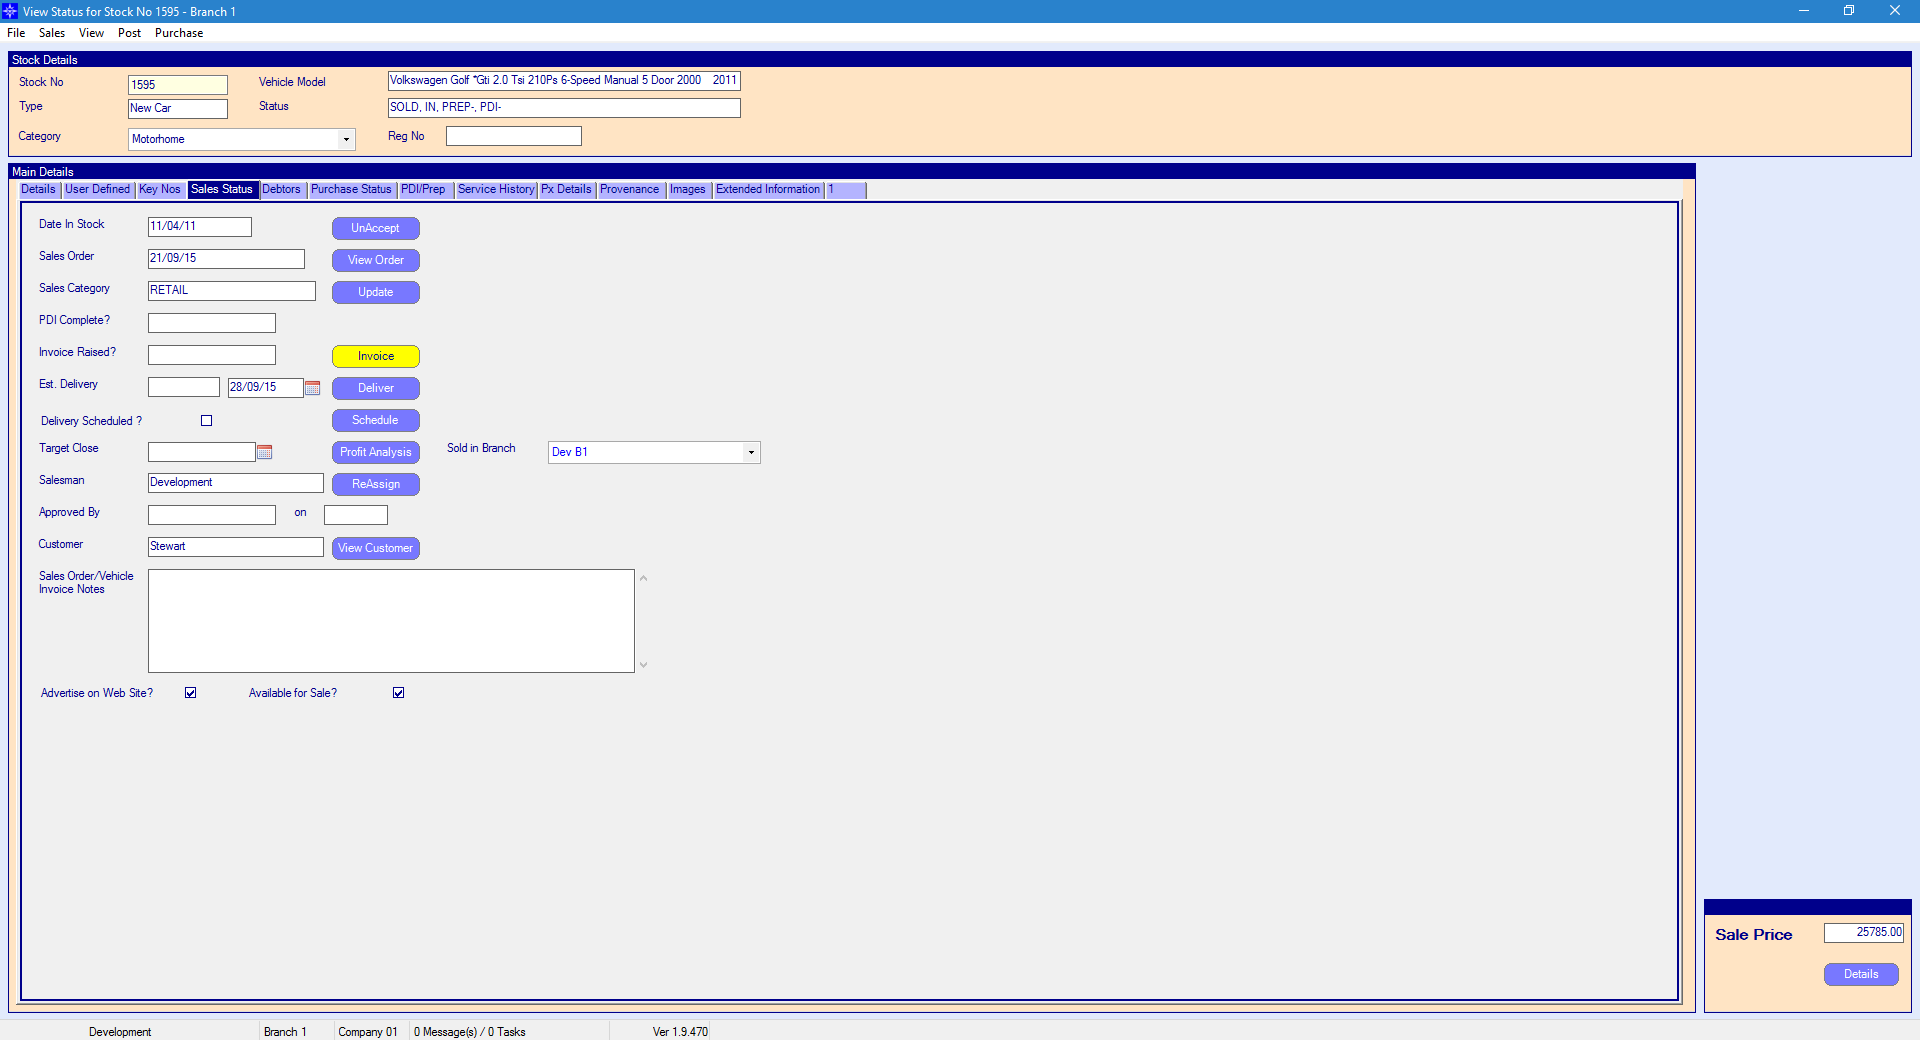
Search for the required Stock Record. When the Stock Record appears on screen select the Sales Status tab. A window similar to the below will appear:
For more information on searching for a stock record please click here.
Select the Invoice button. The following window will then appear:
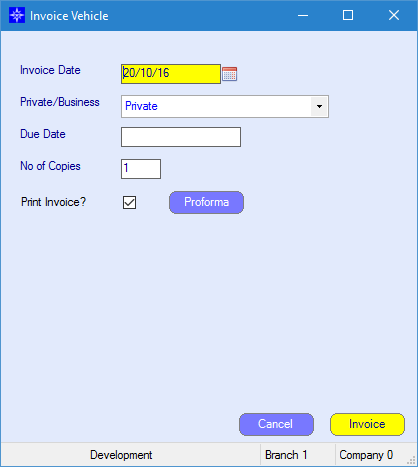
Invoice Date - enter the required invoice date. Please note, if the system does not let you post back to a certain date then this means that a backposting prevention date has been set in Accounts. For more information regarding backposting prevention dates please click here.
Private/Business - you can chose to raise the invoice to five different option. See the example shown below:
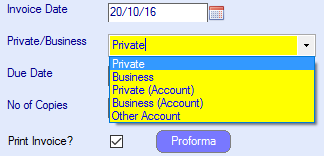
Private - this will raise an invoice and put the debtors against the stock record.
Business - this will raise an invoice and put the debtors against the stock record.
Private (Accounts) - this will raise an invoice against the Sales Ledger account that is linked with the customer record and not put it onto the vehicle debtors.
Business (Accounts) - this will raise an invoice against the Sales Ledger account that is linked with the business record and not put it onto the vehicle debtors.
Other Account - this will allow you to raise an invoice against another Sales Ledger account. The invoice will go the Sales Ledger account selected and not the vehicle debtors.
Please note, if a Sales Ledger account is over it's credit limit the vehicle invoice will still be raised against the Sales Ledger account.
Print Invoice - this tick box will automatically default to a tick. However, if you do not want to print the invoice un-tick this option.
Proforma - this allows you to view how the invoice will appear before raising it. Below is an example of how the proforma will look:

From within this screen you can Print the proforma, Email the proforma or save it to your PC.
When selecting Email, the following window will appear:
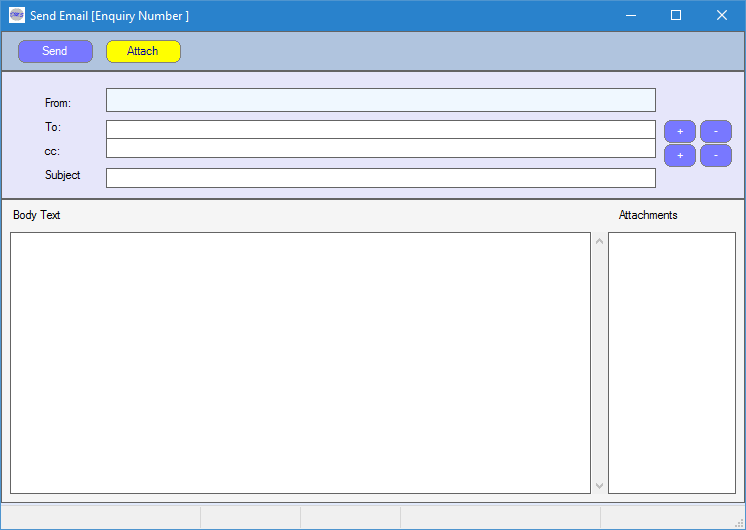
Enter the required To email address by selecting the + next to the To field. The following pop up window will appear:
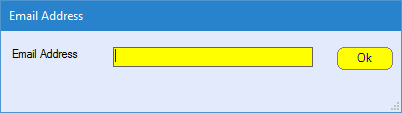
Enter the Subject of the email and the Body Text of the email. Once completed, select Send.
Please note, to be able to send emails from Navigator you will need an email address setup against your staff record. For more information regarding Staff Records please click here.
Once happy with the information enter, select the Invoice button. A vehicle invoice will then be raised.