There are two ways of creating a Sales Order through the Vehicle Administrators Toolkit. You can either select the Sales Orders button on the Vehicle Administrators Toolkit or select the Create Order button within a stock record.
For more information regarding creating a sales order via the Sales Order button on the Vehicle Administrators Toolkit main screen, please click here.
To create a Sales Order against a Stock Record go to the Navigator Main menu and select Vehicles. In the drop down menu that appears select Vehicle Administrators Toolkit.
The following window will appear:
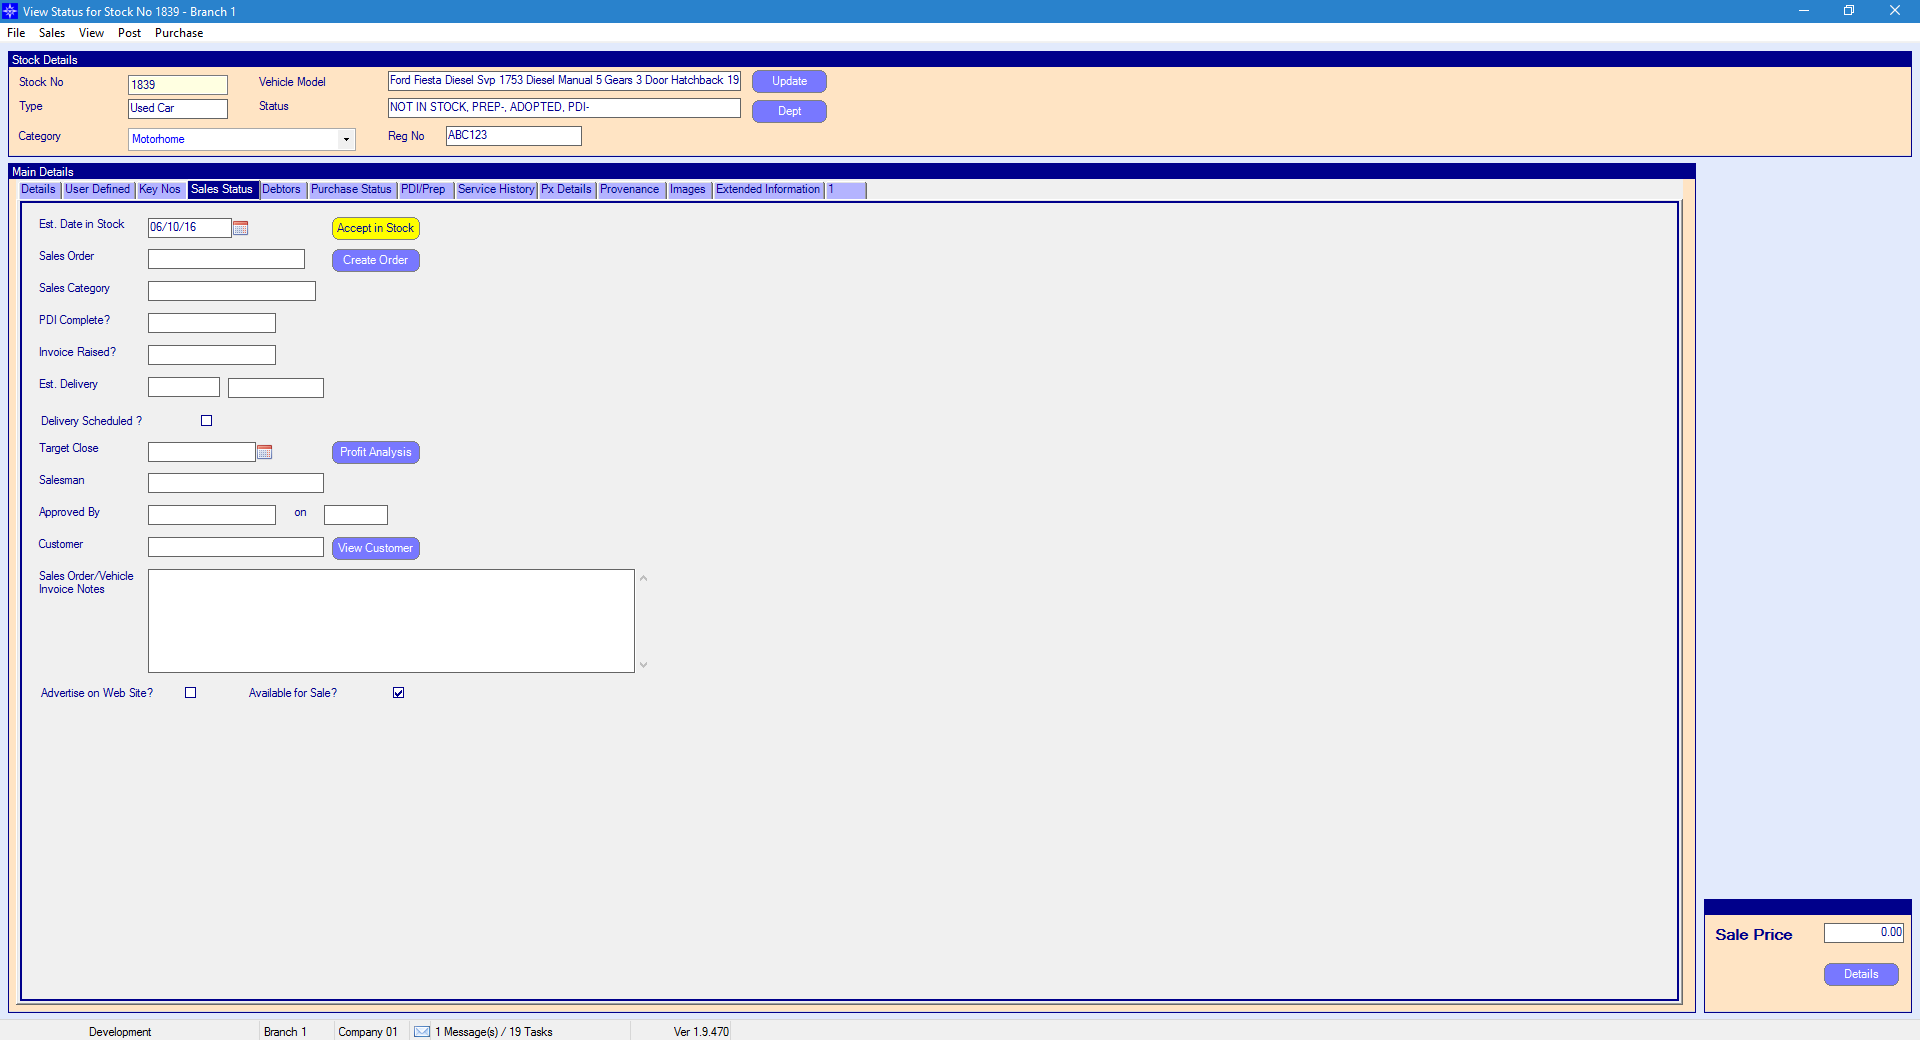
Search for the required Stock Record. When the Stock Record appears on screen select the Sales Status tab. A window similar to the below will appear:
For more information on searching for a stock record please click here.
Select the Created Order button. The following window will then appear:
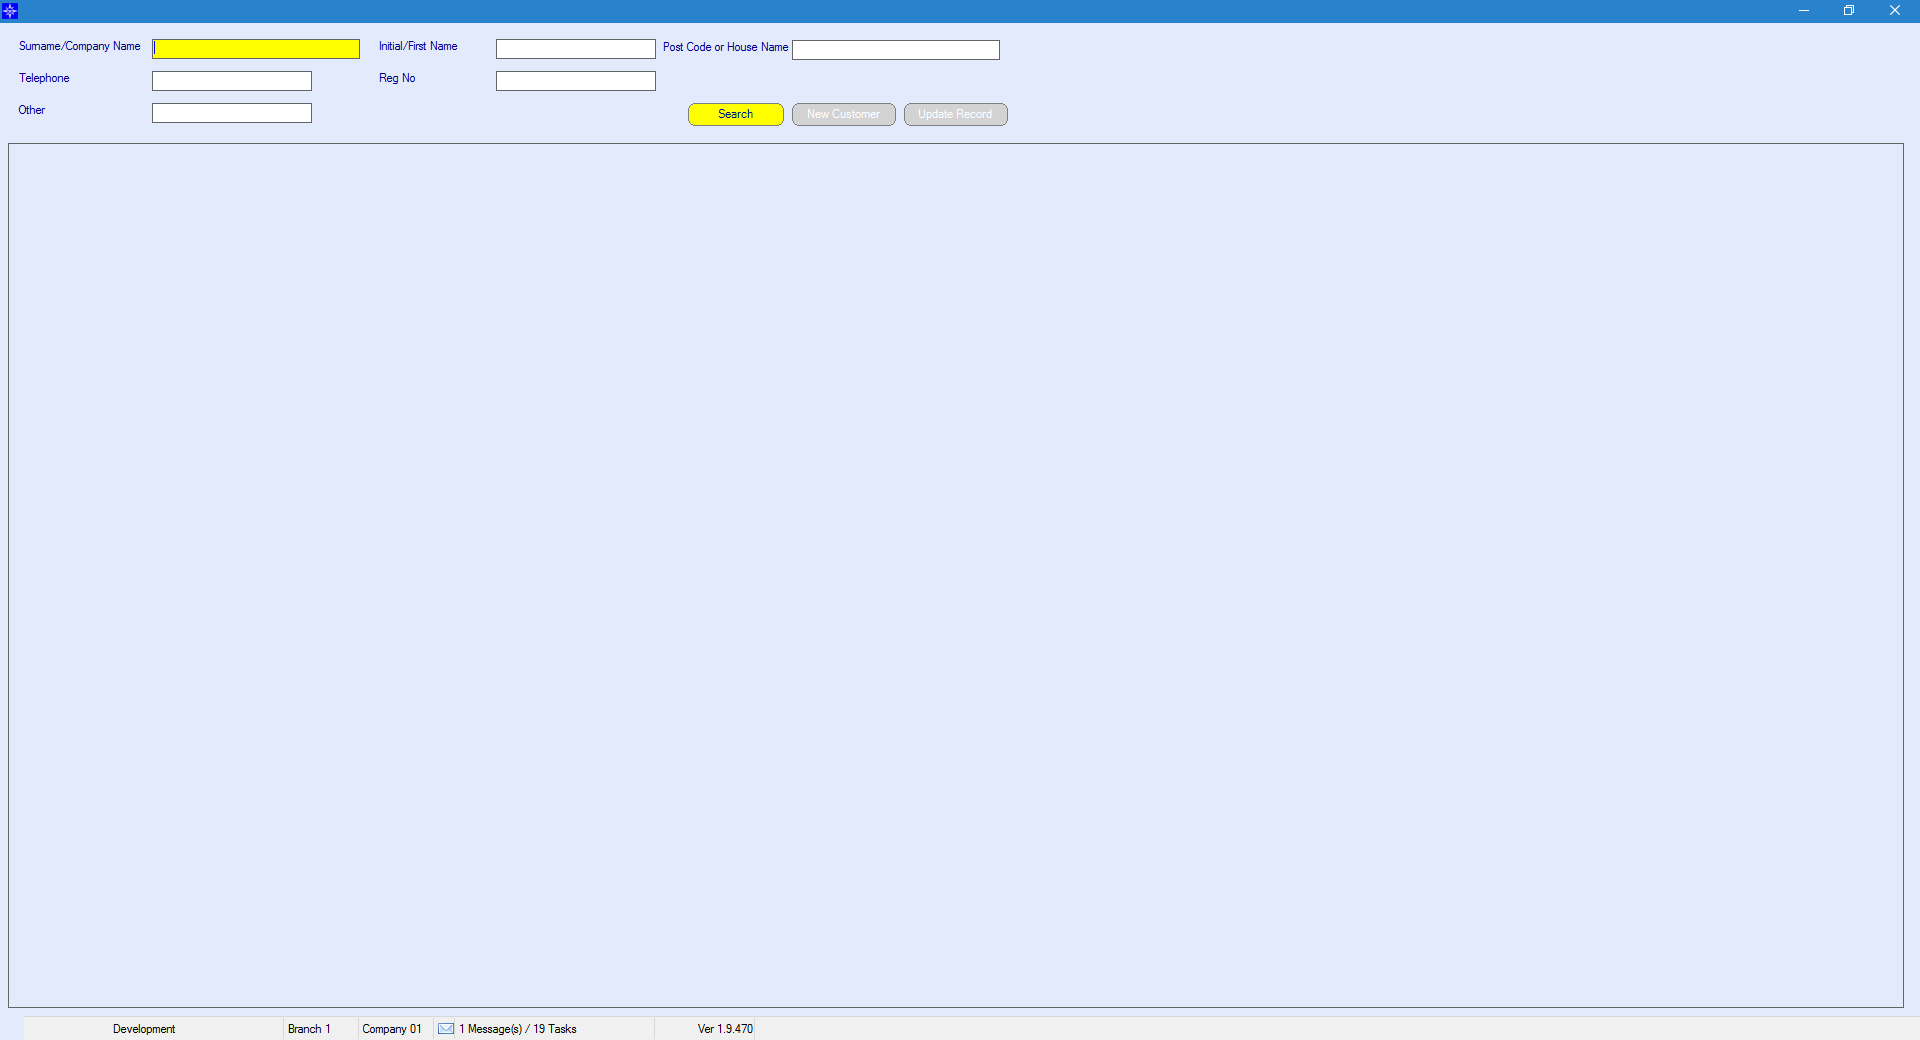
Search for the customer. For more information on customer search, please click here.
When you have selected the required customer the following window will appear:
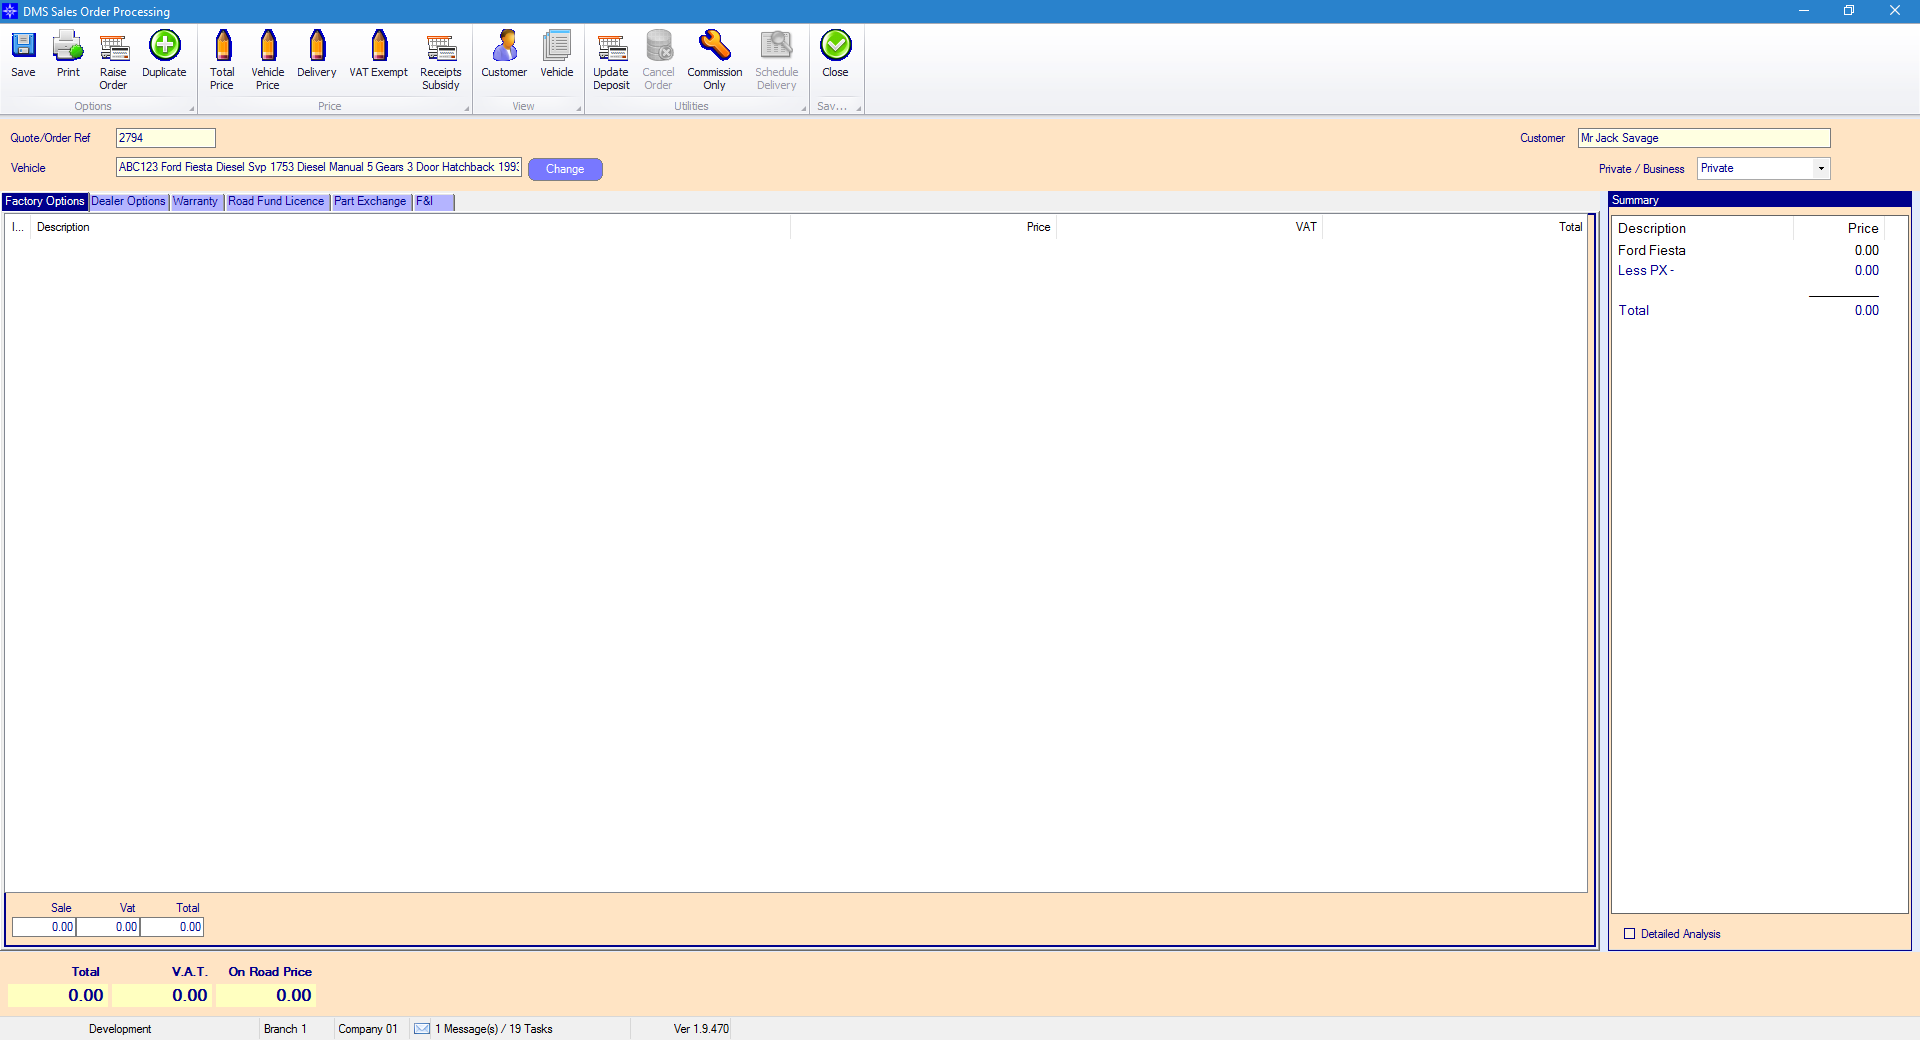
Please see the additional sub headings under Raising a Sales Order on the Help and Manual as to what is required for the rest of the options available on the Sales Order window.
Once you have completed the order select the Raise Order button. The following window will then appear:
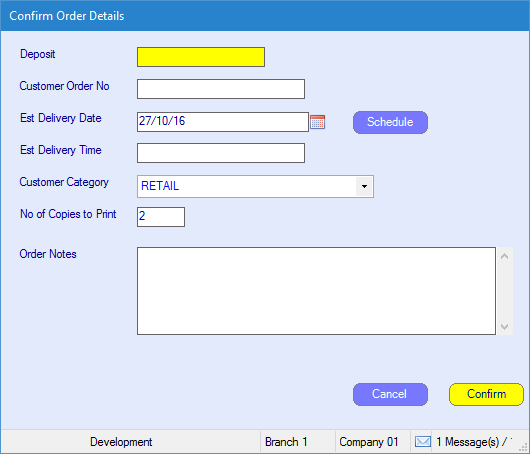
Deposit - enter the deposit amount if the customer is paying a deposit.
Customer Order No - enter an order number if required.
Est Delivery Date - enter an estimated delivery date .
Est Delivery Time - enter an estimated delivery time.
Customer Category - select the required customers category from the drop down menu.
No of Copies to Print - enter the number of copies of the order that you would like to print. If you do not want to print a copy of the Sales Order enter the quantity as zero.
Once happy with the details enter select Confirm. The order will then be raised against the Stock record. After selecting Confirm the following window will then display:
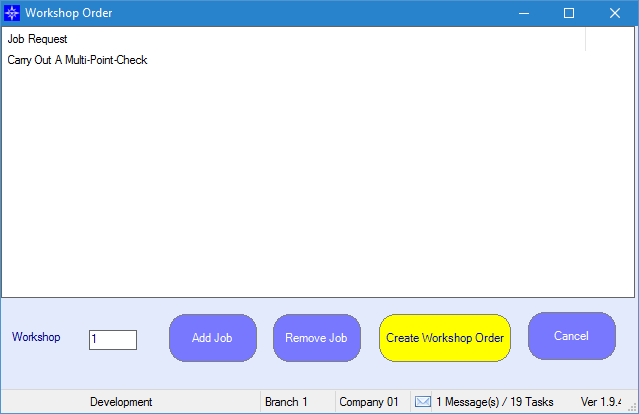
Please note that this option will only appears if the vehicle has been accepted into stock. For more information regarding accepting vehicles into stock please click here.
Add Job - add an additional items to Job Request. When selecting Add Job the following window will appear:
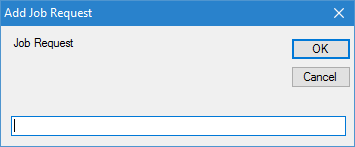
Enter the required description and then select OK. This item will then appear under Job Request.
Remove Job - highlight the required line under Job Request and select Remove Job. The select line will then be removed from under Job Request.
Create Workshop Order - if you want to create an Workshop job against the Stock Record at this stage select the Create Workshop Order option. This will create a workshop job with all the items listed under Job Request on the Workshop Order window. A workshop job will then be raised against the stock record, you will be able to see this on the PDI/Prep tab under Job's in Progress.
If you do not want to raise a Workshop job at this stage press Cancel. This will then take you back to you back to the main Stock Record screen.
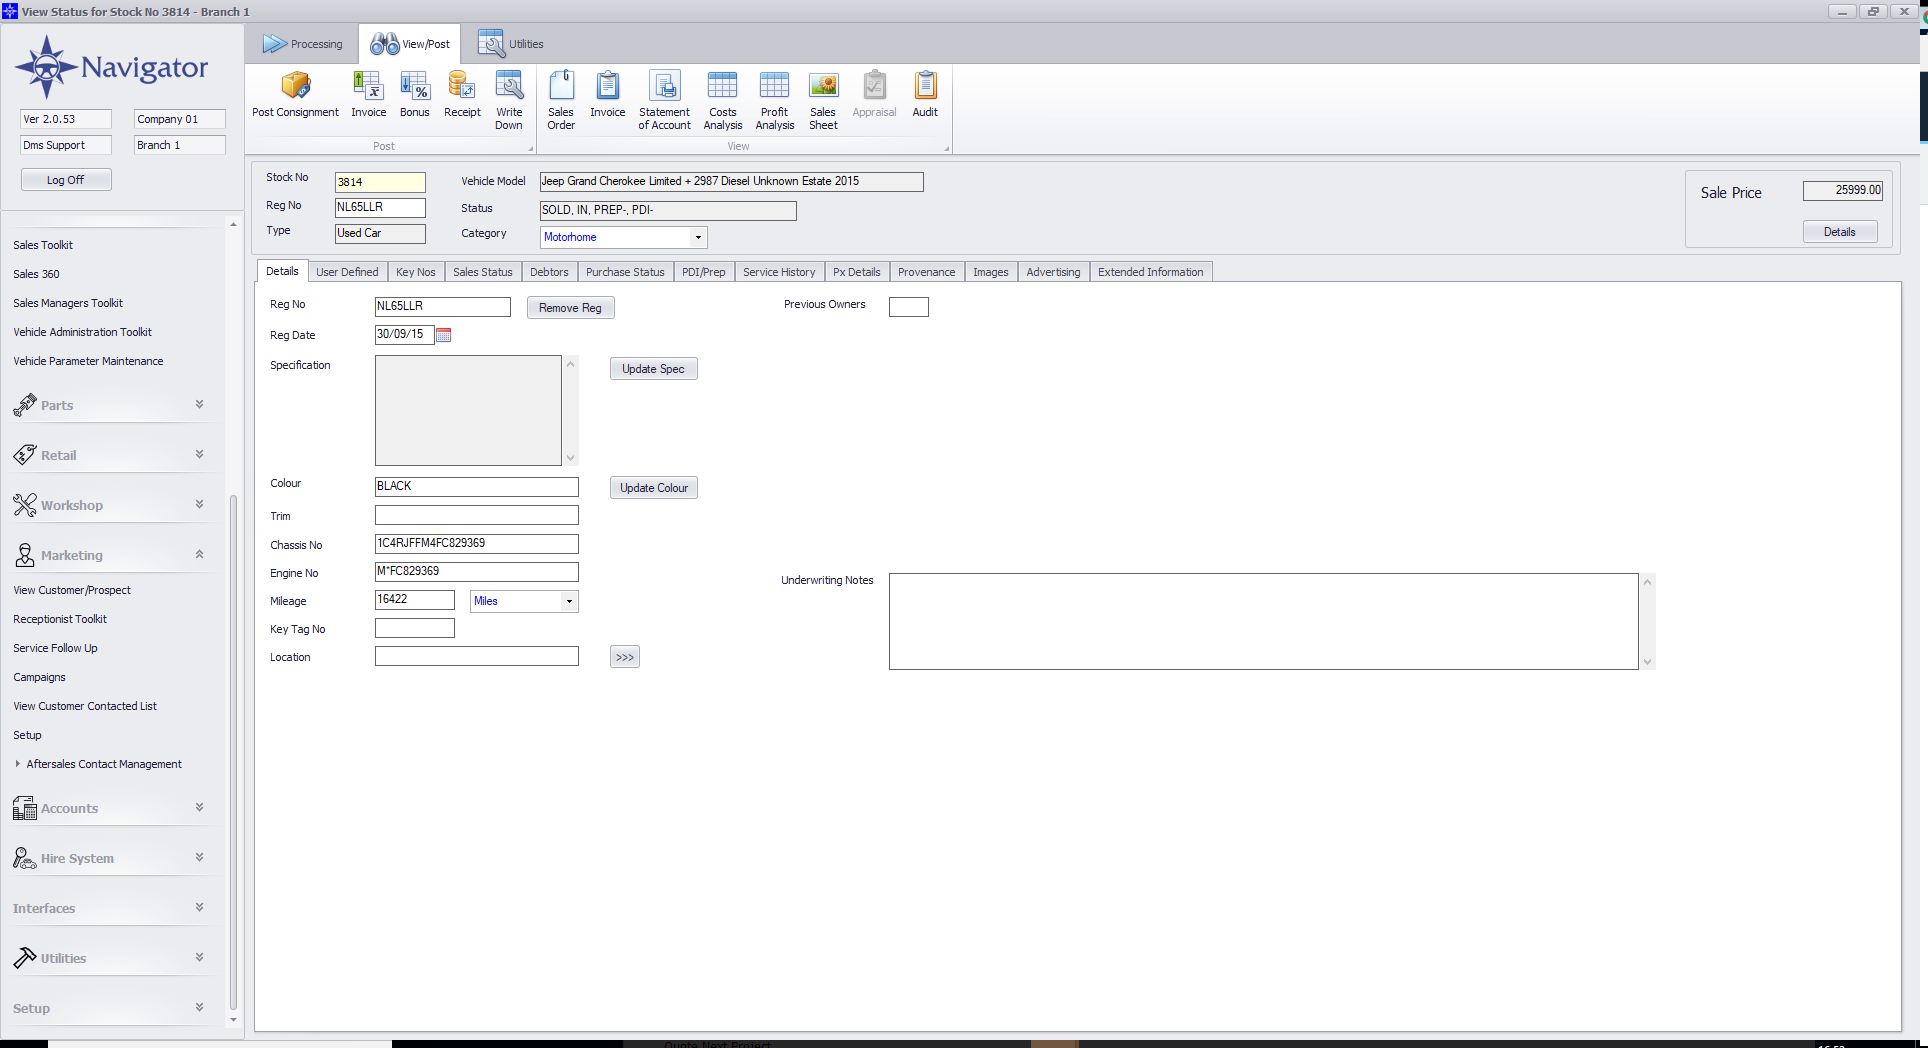
The status of the stock record will then change to sold. Please see the below example:
![]()